Installation guide;
How to install a Luxway infrared sauna?
Installation time; See the approximate installation time for each sauna.
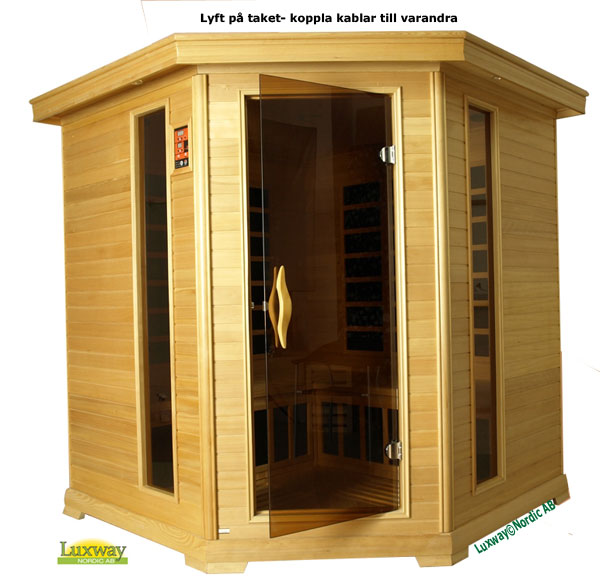
In this case, it is a corner sauna with carbon heating.
An infrared sauna is delivered in 2–6 packages depending on the sauna model.
Start by unpacking all the sauna components, such as the floor, wall panels and ceiling, etc.
Each part of the sauna comes fully assembled with heating panels, lights and speakers.
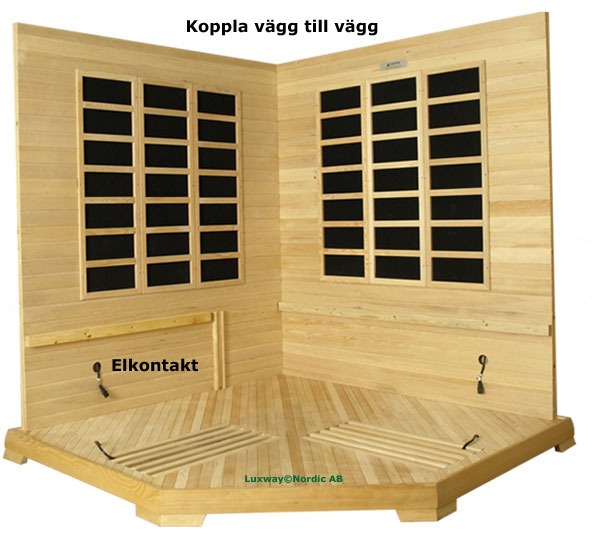
From each wall panel with a heating panel, an electrical cable runs with a cable clamp; each cable is inserted into the next, and they are marked with a designation such as H1 or H2, etc. Here
, we will show how a corner sauna is assembled.
The principle is the same for all models, including rectangular ones, but in this case there are only four wall panels to be installed; the procedure remains the same.
Step 1
Start by placing the sauna floor in close proximity to where you intend the sauna to be positioned.
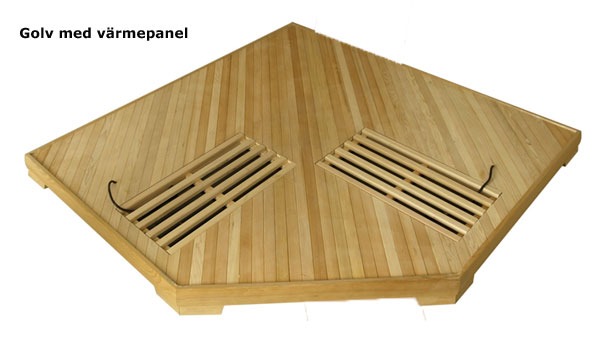
Step 2. Sauna wall panels.
The sauna wall panels are fitted with wooden battens on which the bench will rest. Using these and the dimensions of each wall panel, you can easily work out where it should be placed.
Place one of the wall panels against the floor. Most models have legs, in which case the wall panel should be lifted onto the floor. If the sauna model does not have legs, the wall panel should be pushed against the floor.
Ask someone to help support the wall panel whilst you fetch the next one.
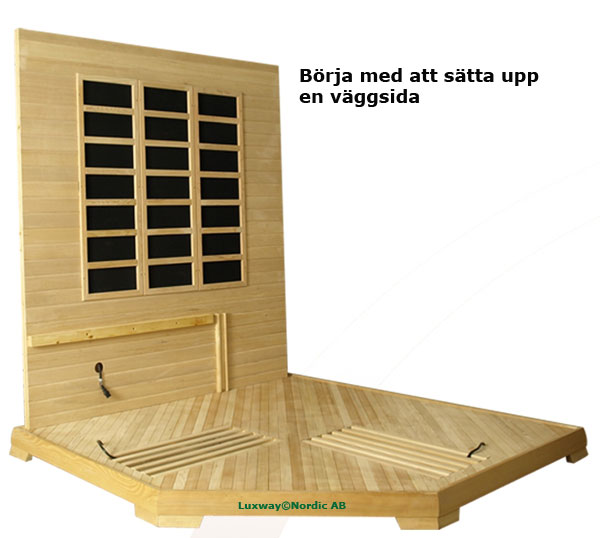
Step 3 – Sauna fixings
Lift the next wall panel and fit it together with the others.
The fastening mechanism for the wall panels varies between snap fasteners (this is a clasp visible on the outside; the parts are pushed together and then the clasp is closed) and keyhole fasteners; this fastener is located inside the wall panel and is not visible from the outside. One side of the wall has a hole resembling a keyhole, whilst the other side has a protruding metal hook. By lifting the wall section a few centimetres, you can easily insert the hook into the upper part of the keyhole, and it locks into place when the hook is then pushed down into the narrower part of the keyhole fastening.
Step 4:
Hook the end panel onto the left-hand side of the sauna and the right-hand side of the sauna wall. See sauna image.
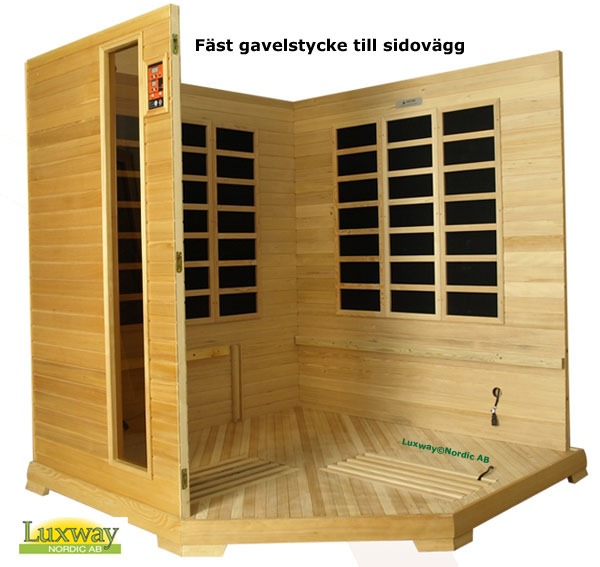
Step 5
Fit the other side gable.
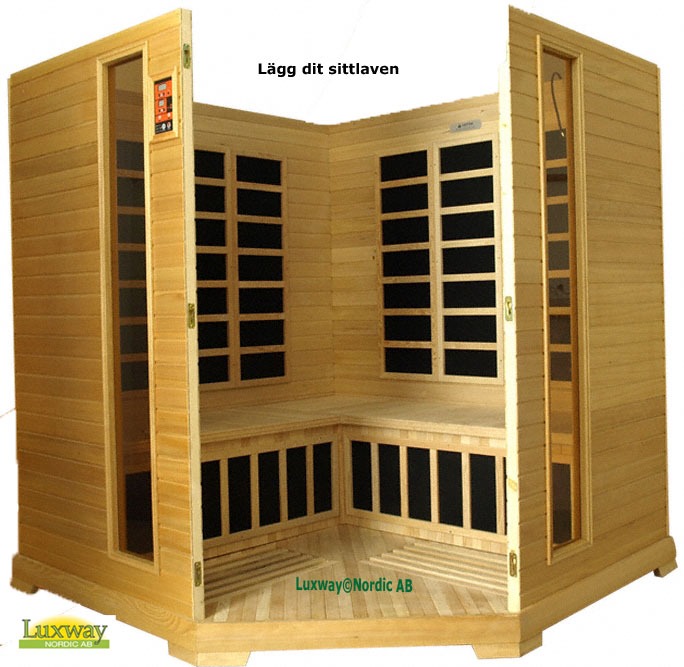
Step 6. Fit the sauna door
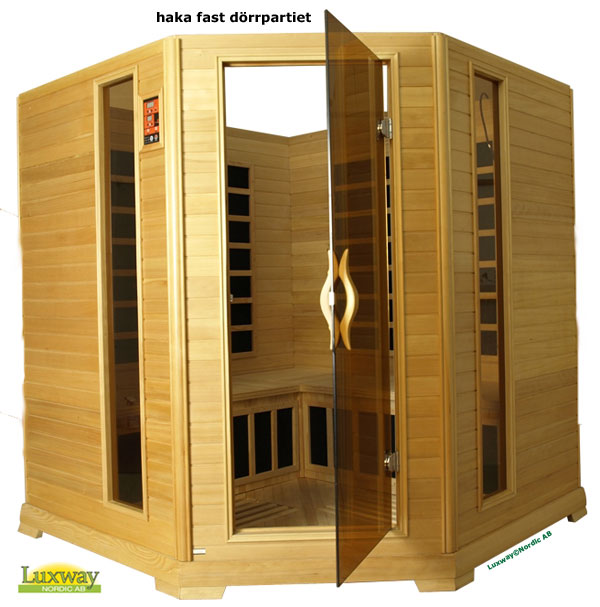
Step 7. Fit the sauna roof and connect the cables to each other.